


Welcome back! So you are ready to upload your first file on Wavel. But you don’t know how to proceed. Don’t worry! In this article, we will explain how to upload files on Wavel.
Before proceeding further, make sure you have read our article on Wavel’s credit system.
Ready? No? Do you prefer videos instead? No worries, we have got you covered there as well. You can watch the video below. It will explain how to upload files on Wavel.
But if you would instead read and follow along, continue reading.
The below screenshot is what the dashboard will look like after logging in. You will be able to access all your files here.

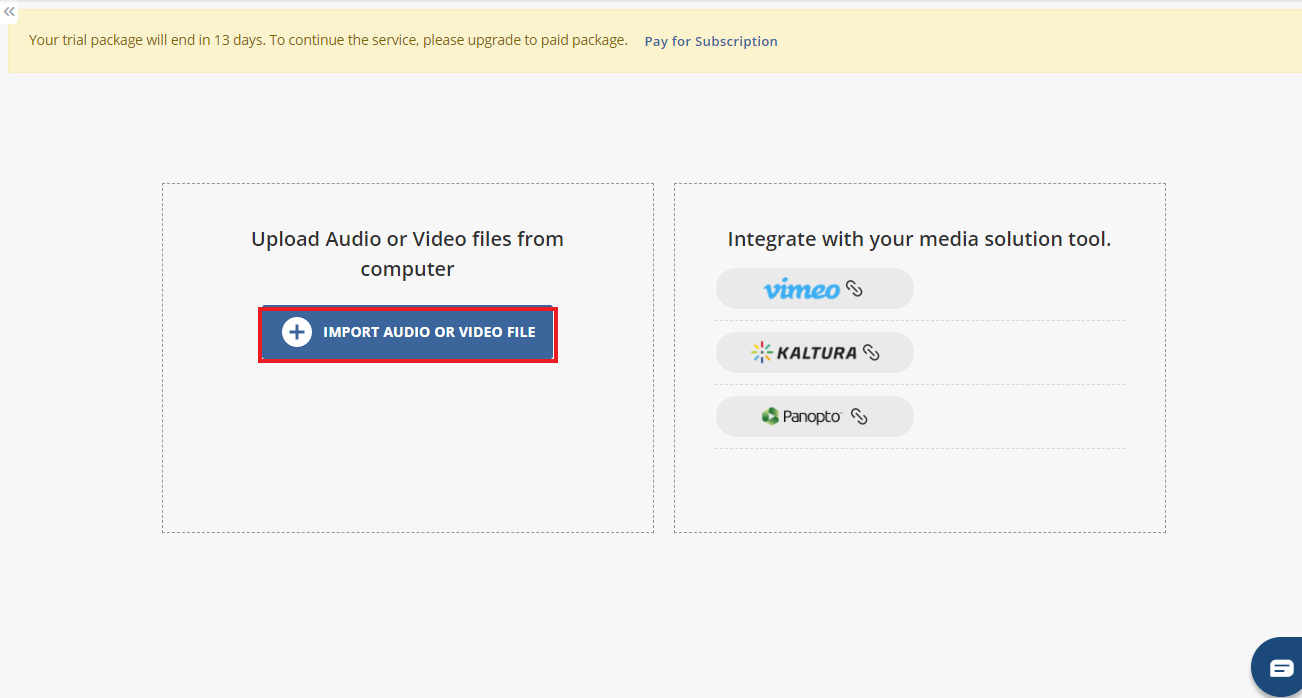
Click on the Import audio or video file button at the center of the screen. You will see a tab that will ask you to name the file and upload it from your local computer. You can also choose from the 3 options of turnover time.

After uploading the necessary files, your dashboard will look like this.

We hope you found this article helpful while uploading your first file on Wavel.
Happy sharing knowledge with you,
Team Wavel
Previous step – Wavel’s credit system and delivery times
Home – Resources for New Wavel Customers
Next step – How to view your transcripts in Wavel
If you’d like additional help, feel free to mail us at reachout@waveldotai.wpcomstaging.com.
