


Creating videos is a significant part of many organizations’ marketing strategies, but YouTube isn’t the only option. Wistia, a video hosting service, is among the alternatives. You can create professional videos with Wistia in minutes by simply using your computer’s webcam.
How To Add Captions And Subtitles To Wistia
The advanced tools provided by Wistia allow marketers to maximize their video marketing efforts. With Wistia, you can easily create, advertise, and measure your videos. Wistia offers a customization player that allows you to customize how your video player looks, as well as meticulous analytics to assist you in your video marketing efforts.
Wistia allows you to embed, post, and measure your videos in your emails, on social media, and on your websites. You can also control who can post your videos and where.
Wistia provides a better viewing experience for your customers as well as your business. Wistia monitors each individual’s connection to guarantee the highest quality video for their connection. They also prevent buffering with their videos.
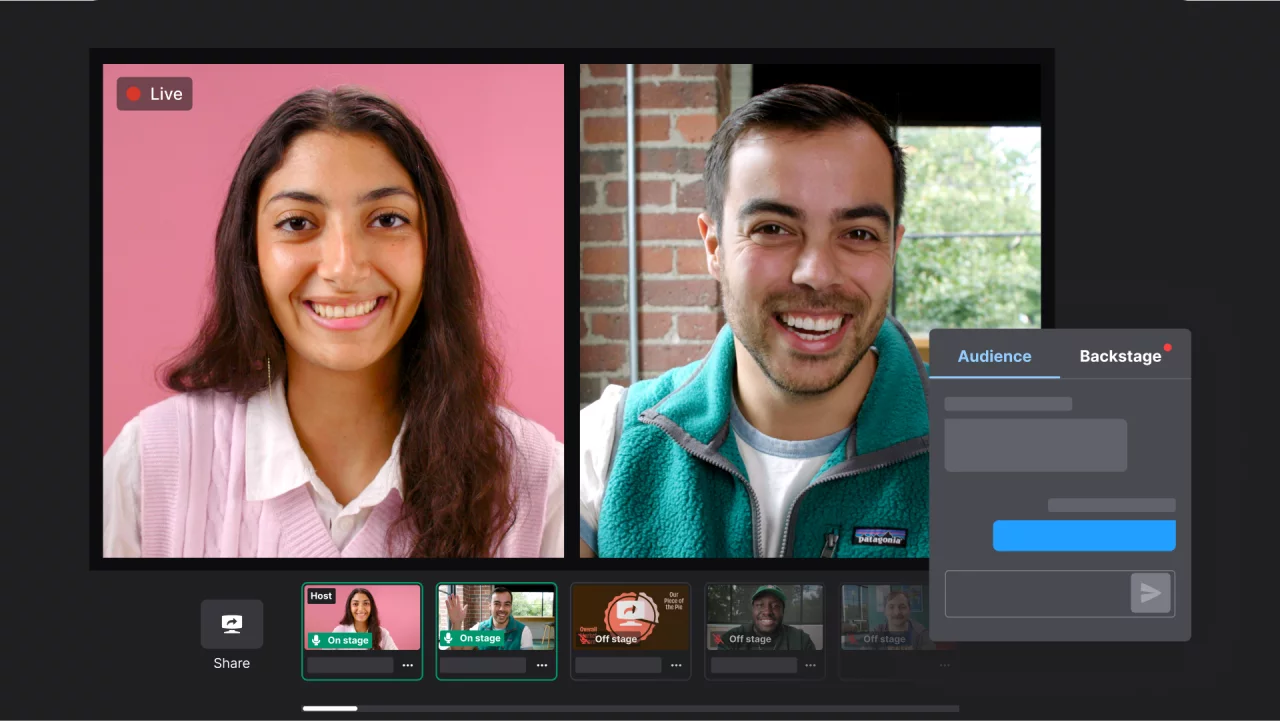
Wistia videos are an excellent way to reach out to your audience and engage them with your content.
One of the ways in which you can add text to your videos is by using a third-party app. Here are a couple of apps that you can use to add captions and subtitles to Wistia recordings.
How to Add Captions and Subtitles on Wistia meeting or video Using Wavel
Wavel– An AI-generated app that allows you to add text to videos. You can use Wavel to add captions and subtitles to Wistia videos. Wavel ensures text accuracy of 99% which adds a more natural effect to the video. Besides Wistia, it also has various features for other apps such as Youtube, Vimeo, etc.
Check The Steps Below To Add Captions And Subtitles To Your Wistia Meeting Or Video:
1. Login into your Wavel account.
2. Click on the Upload button on your dashboard where there are three options: transcription, translation and voiceover.
3. Click on ‘Transcription’, and you will have the option to upload and paste along with downloadable links and other options to specify your requirements.
4. Under the ‘Output Segment, you can choose ‘Transcription’ or ‘Captions’ based on your requirements.
5. Select ‘Export’ to download the file, and share it in any custom file format. it will show the options to save the subtitles in the original format .srt .vtt .stl .ass .sub or .sbv.
Conclusion
Now, all you need to do is upload the video to your Wistia account. When you do this, you will notice that the captions and subtitles appear on your Wistia meeting or video. And there you have it! You just added captions and subtitles to a Wistia meeting or video using a Wavel. And the best part is that you don’t have to do anything fancy. There is no coding, no designing, and no fancy editing. All you have to do is upload your video, open the third-party app, and add captions and subtitles. Easy!
