
.webp)


Engaging your audience from the start is crucial when creating a video, as you’re vying for their attention. By trimming the start or finish of your video, you can enhance its appeal and ensure it captures the attention it merits.
Once you’ve piqued viewers’ interest, the next challenge is maintaining it. Removing superfluous sections using the video trimming tool is essential to keep your audience engaged.
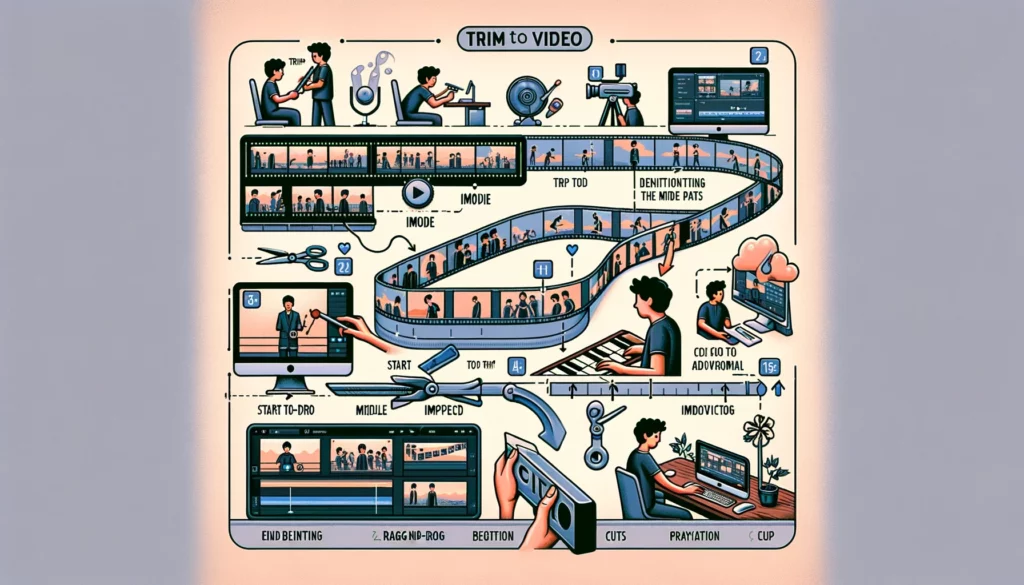
Video Trimming is an essential yet crucial aspect of video editing. It involves cutting off parts from the beginning or the end of a video clip, often called trimming the head or tail.
What is Video Trimming?

Video trimming is akin to traditional film editing, where filmmakers once physically cut and reconnected film sections to retain only the desired parts. In the modern digital realm, video trimming embodies the same principle but without the need for physical cutting tools.
This technique is pivotal for several reasons:
- Brevity: Lengthy videos often lose the audience’s interest. Trimming helps in keeping the content concise, ensuring viewers remain engaged throughout.
- Professionalism: A meticulously trimmed video reflects higher professionalism, indicating the effort invested in refining and perfecting the content.
- Efficiency in File Management: By reducing a video’s duration, its file size decreases, facilitating easier uploading, sharing, and storage.
- Narrative Clarity: Trimming is crucial for removing scenes or segments that do not contribute to the intended narrative, thus maintaining a smooth, coherent storyline.
The Basics of How to Trim Videos
Trimming videos is a fundamental skill in video editing that allows you to remove unwanted parts from the beginning, middle, or end of your footage, ensuring that your final product is concise, engaging, and professional. Here’s an essential guide on how to trim videos:
1. Select Editing Software: Choose a video editing program that fits your skill level and needs, from basic options like iMovie to advanced ones like Adobe Premiere Pro.
2. Import Video: Load the video you want to trim into your editing software using the import or drag-and-drop feature.
3. Identify Sections to Trim: Watch the video to pinpoint the beginning, middle, or end sections you wish to remove.
4. Use the Trim Tool: Find and utilize the trim tool in your software to cut out unwanted parts from your video.
5. Trim the Video: Adjust the start and end points to trim the beginning or end; for the middle, split the clip and delete the unnecessary segment.
6. Review and Adjust: Play back the trimmed video to ensure it flows well; make any adjustments for a smoother edit.
7. Save/Export Video: Save or export the edited video in the desired format and quality once satisfied.
Choosing the Right Tool for Trimming Videos
Choosing the right tool for trimming videos involves considering factors like ease of use, feature set, compatibility with your operating system, and specific needs like text-to-speech capabilities. Wavel AI stands out for its text to speech features, offering support in over 70 languages and more than 250 AI voices, which can be particularly useful for creating videos that need narration in multiple languages or varied vocal tones. However, you should look at additional features to trim videos precisely. In addition to video trimming, professional video editing services can transform your raw footage into a captivating masterpiece. Here’s a breakdown of considerations for selecting a video trimming tool, including the integration of tools like Wavel AI for video trimming online:
1. Ease of Use:
- Simple Interface: Look for a tool with an intuitive interface that makes it easy to trim videos without a steep learning curve.
- Drag-and-Drop: Features like drag-and-drop support for adding video files can streamline editing.
2. Feature Set
- Trimming Precision: The ability to trim videos accurately, down to specific frames or milliseconds, is crucial for precise editing.
- Multiple Formats: Ensure the tool supports various video formats, making it versatile for projects.
- Export Options: High-quality export options are essential for maintaining the video’s quality after trimming.
- Integration with Other Tools: For projects requiring text-to-speech, check if the tool can integrate with Wavel AI or other text-to-speech software to add narration directly to your videos.
3. Compatibility
- Operating System: Ensure the tool is compatible with your operating system, whether you’re using Windows, macOS, or Linux or require a web-based tool.
- Hardware Requirements: Some tools may have specific hardware requirements, especially for processing high-resolution videos.
4. Advanced Features
- Text-to-Speech: For adding narration, tools like Wavel AI can enhance your videos with high-quality, natural-sounding voices in multiple languages. This feature is particularly beneficial for educational content, tutorials, or content aimed at international audiences.
- Effects and Transitions: Beyond trimming, consider whether you’ll need additional editing features like effects, transitions, and background music.
Advanced Techniques in Trimming Videos

Advanced techniques in trimming videos go beyond the basic cut and involve a more nuanced approach to editing, allowing for seamless transitions, narrative pacing, and maintaining viewer engagement. These techniques can significantly enhance the storytelling aspect of your videos, whether you’re creating content for social media, YouTube, documentaries, or film. Here are some advanced techniques for trimming videos that can elevate your editing skills:
J and L Cuts:
- J Cut: This is where the audio from the next scene starts playing before the visual transition occurs. It’s called a J cut because, in the editing timeline, the audio track extends beyond the video track, resembling the letter “J.” This technique can create a smooth transition that keeps the audience engaged by introducing the audio context of the next scene before visually transitioning.
- L Cut: Conversely, in an L cut, the video transitions to the next scene before the current scene’s audio concludes. This can effectively maintain the flow of dialogue or ambient sounds across reductions, making the edit less jarring.
2. Cutting on Action:
Trimming so that the action starts in one shot and completes in the next can make the edit feel more seamless. This technique involves cutting between two angles or shots in the middle of an action, such as someone jumping or turning around. The cut becomes less noticeable because the viewer focuses on the action, creating a smoother transition.
3. Match Cut:
A match cut involves cutting from one shot to another where the composition of the two shots is matched by the action or subject. This technique draws a symbolic connection between the two scenes or maintains a fluid narrative flow by matching movements, shapes, or colors.
4. Cutaways:
Using cutaways involves cutting away from the main action or subject to show related visual information, often to provide context or additional details about the scene. This can be a powerful tool for pacing, allowing the editor to add information without disrupting the narrative flow.
5. Cross-Cutting (Parallel Editing):
This technique involves cutting between two or more scenes simultaneously but in different locations. It’s used to build suspense or to show how different storylines or actions relate to each other.
6. Timing and Pace:
Advanced trimming also involves a keen sense of timing and pace. Adjusting the length of clips and the timing of cuts can impact the rhythm of the video, affecting viewer engagement and emotional response. Faster cuts can create excitement or tension, while longer takes can build suspense or give a more contemplative feel.
7. Use of Music and Sound:
Integrating music and sound effects with your cuts can significantly enhance the impact of your edits. Trimming clips to match the beat of a soundtrack or using tough transitions effectively can elevate the viewer’s experience. This is particularlyimportant if the video itself is music-focussed, rather than this merely being a background element. So if you’re going to be using a video distribution platform like DistroVid to upload your finished promo to major streaming sites, you want to ensure that the editing choices you make are aligned with the ebb and flow of the audio.
8. Montage Editing:
Montage editing involves compiling a series of short clips to condense time or convey information quickly. The technique often shows the passage of time, a character’s development, or parallel events.
9. Incorporating Text-to-Speech for Narratives:
Integrating text-to-speech technology like Wavel AI for documentaries or educational content can add an informative or narrative layer to your videos. Trimming and editing your video to align with the narration can enhance storytelling, making the content more accessible and engaging.
Common Mistakes to Avoid When Trimming Videos
Trimming videos is a fundamental skill in video editing, helpful in creating engaging content and ensuring your videos flow smoothly. However, several common mistakes can detract from the quality of your final product. Here are some common pitfalls to avoid:
1. Inaccurate Cuts: Cutting too early or late can disrupt the video flow or omit crucial information. Take the time to make precise cuts that align with the video’s narrative or instructional goals.
2. Ignoring Audio Transitions: When trimming, it’s also essential to consider the audio track. Abrupt audio cuts can be jarring. Ensure smooth audio transitions by using fade-ins and fade-outs or adjusting the audio levels to match the adjoining clips.
3. Over Trimming: While removing unnecessary content is essential, cutting too much can leave your video feeling rushed or incomplete. Ensure that each trim serves a purpose and that you’re not removing content that adds value to your narrative.
4. Not Checking Transitions: Always check the transitions between clips after trimming. Poorly executed transitions can disrupt the video’s flow. Consider using crossfades or other transition effects to smooth over the cuts when appropriate.
5. Forgetting About Pacing: The rhythm and pace of your video are essential for keeping your audience engaged. Be mindful of how your trims affect the pacing. Removing too many pauses can make the video feel unnaturally fast, while not trimming enough can drag it.
6. Ignoring Jump Cuts: Jump cuts occur when two sequential shots of the same subject are cut together with a slight variation in position, creating a jarring effect. To avoid this, use cutaways or B-roll footage to maintain visual interest and smooth transitions.
7. Not Saving Original Files: Always keep a copy of the original files before starting your edits. This allows you to revert back if a mistake is made during trimming.
10. Lack of Practice: Like any skill, trimming requires practice. Experiment with different techniques and tools to find what works best for your projects.
Wrap Up
Elevating your video editing skills is a multifaceted process encompassing much more than mastering technical tools. It involves developing a sharp eye for storytelling, understanding your audience’s preferences, and creating content that resonates deeper. Regular practice and staying organized is fundamental, as is the ability to weave compelling narratives through careful pacing, transition, and audiovisual harmony. Embracing feedback, experimenting with new techniques, and staying abreast of the latest trends and tools in video editing are also crucial for growth. By focusing on these aspects, you can enhance your videos’ emotional impact and engagement, transforming them into powerful stories that captivate and inspire your audience. This holistic approach to video editing improves the quality of your content and enriches your creative expression, making your work stand out in a crowded digital landscape.
Frequently Asked Questions
- How Can One Trim Video Files Effectively?
To trim video files effectively, choose a video editing software compatible with your video’s format. Import the video, select the portion you want to keep, remove unwanted sections, and use tools that offer a straightforward trimming process. Previewing your edits before finalizing ensures accuracy and satisfaction with the final product.
- How Can I Trim A Video Without Losing Quality?
To trim a video without losing quality, use software that supports lossless editing to avoid re-encoding. Ensure you save the trimmed video in the same format and codec as the original to maintain its quality. This approach helps preserve the video’s original fidelity.
- Can I Trim A Video On My Smartphone, And What Are The Best Apps For That?
Yes, you can trim videos on your smartphone using apps like iMovie for iOS, Adobe Premiere Rush, and KineMaster for both iOS and Android. These apps offer easy-to-use trimming and editing features, making mobile video editing convenient and versatile.
- What Are The Differences Between Cutting, Trimming, And Splitting A Video?
Trimming adjusts a video’s start and end points to shorten it, cutting removes a middle segment and requires rejoining the parts, and splitting divides the video into separate clips without removing content. Each technique serves different editing needs, from reducing length to rearranging or segmenting the video.
- How Can I Trim A Video Online Without Downloading Any Software?
To trim a video online without software, use web-based tools like Clipchamp, Kapwing, and Online Video Cutter. These platforms offer simple interfaces for quick video trimming directly in your browser, eliminating the need for software installation and facilitating immediate editing tasks.