Do you want to create a new Wavel account? Don’t worry! In this article, we will walk you through the entire process of registering with Wavel and logging in using your new account.
Ready? No? Do you prefer videos instead? No worries, we’ve got you covered there as well. You can watch the video below. It will guide you as you create a new Wavel account and log into it.
But if you would instead read and follow along, continue reading.
Step 1: Go to the Wavel Login Page
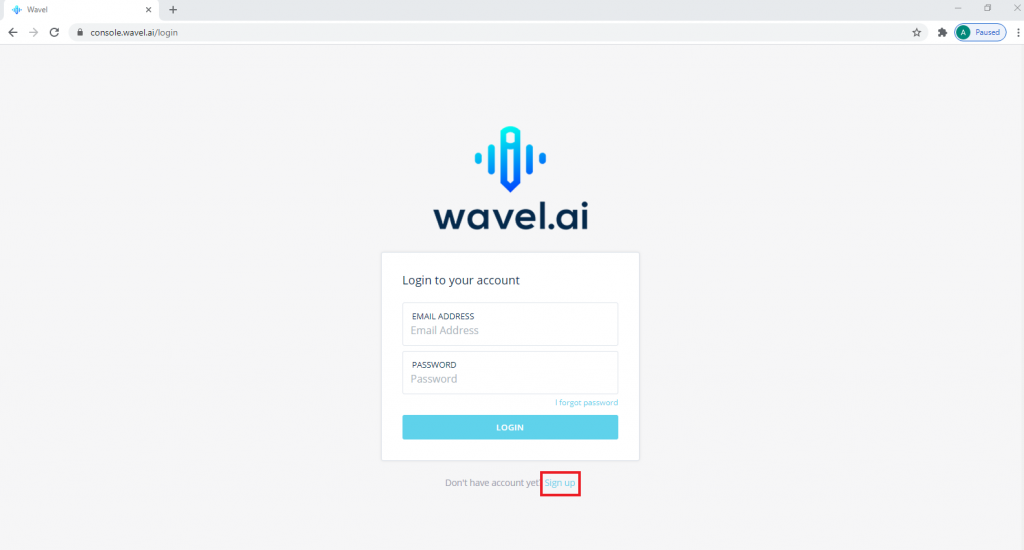
First of all, you’ll have to go to Wavel’s homepage and click the Login button.

Step 2: Go to the Wavel Registration Page
From the Login page, click on the Register link.

Step 3: Create a new Wavel Account
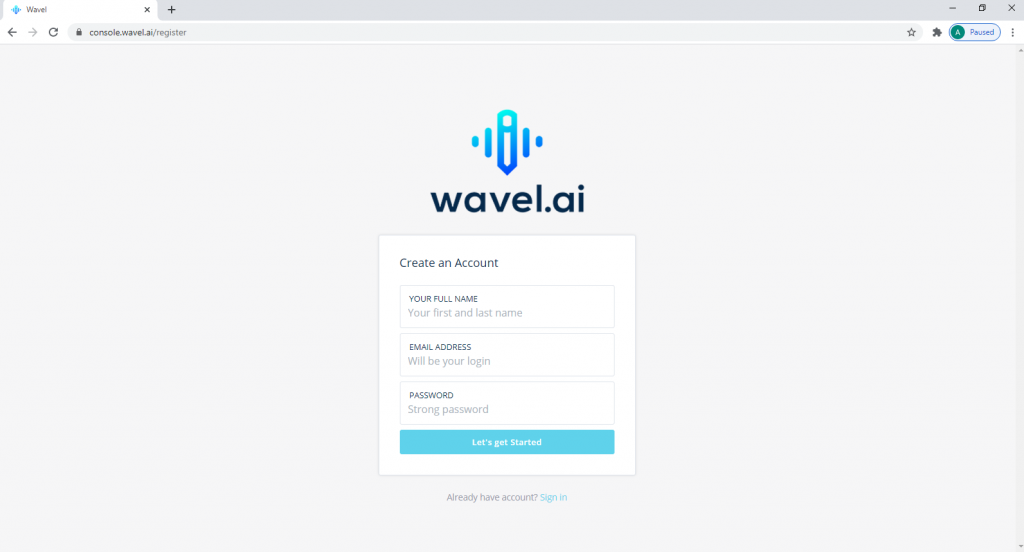
Once on the Register page, you should see three different input fields; fill them with your details and press the Let’s Get Started button.
Unfortunately, our system does not accept personal emails. As such, make sure you are providing your work email (domains other than Gmail, Yahoo, etc.,) when filling out the Register form.

Step 4: Log into your newly created Wavel account.
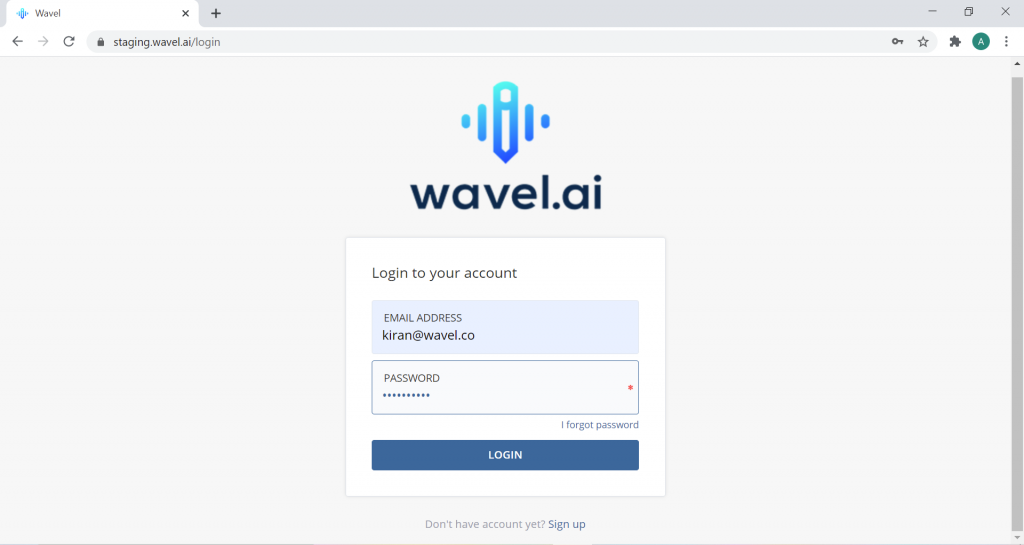
Finally, use your new login credentials to log into your new Wavel account.

We hope you found the article helpful while creating your new Wavel account. Welcome aboard!
Home – Resources for New Wavel Customers
Next step – What subscription plans does Wavel offer
If you’d like additional help, feel free to mail us at reachout@wavel.ai.

.webp)


